Baby A is due in mid Jan next yr, just in time for the Chinese New Year celebration on Feb 19 2015. So I sewn this festive top in a newborn to 3 months size. Small and tiny and cute!
Keep reading on for the tutorial and free pattern link below.
I even altered the sleeve pattern and sewn up another casual top with puffed short sleeves for my niece Chloe as well. It's not often you get so many baby girls to sew for and i am really great that my elder sis appreciates my handmade clothings for her baby.

Fabric used: A red quilting cotton with metallic gold dots from Joann. Price 9.90USD but i used my 50% off coupon. 1 yard=5USD
Gold bias tape from stash and the gold chinese frog closure also from stash.

The back of the top is also a crossover so there is no need for 'actual closures'. The chinese frog buttons are mainly 'decorative' and to make the top more chino style.
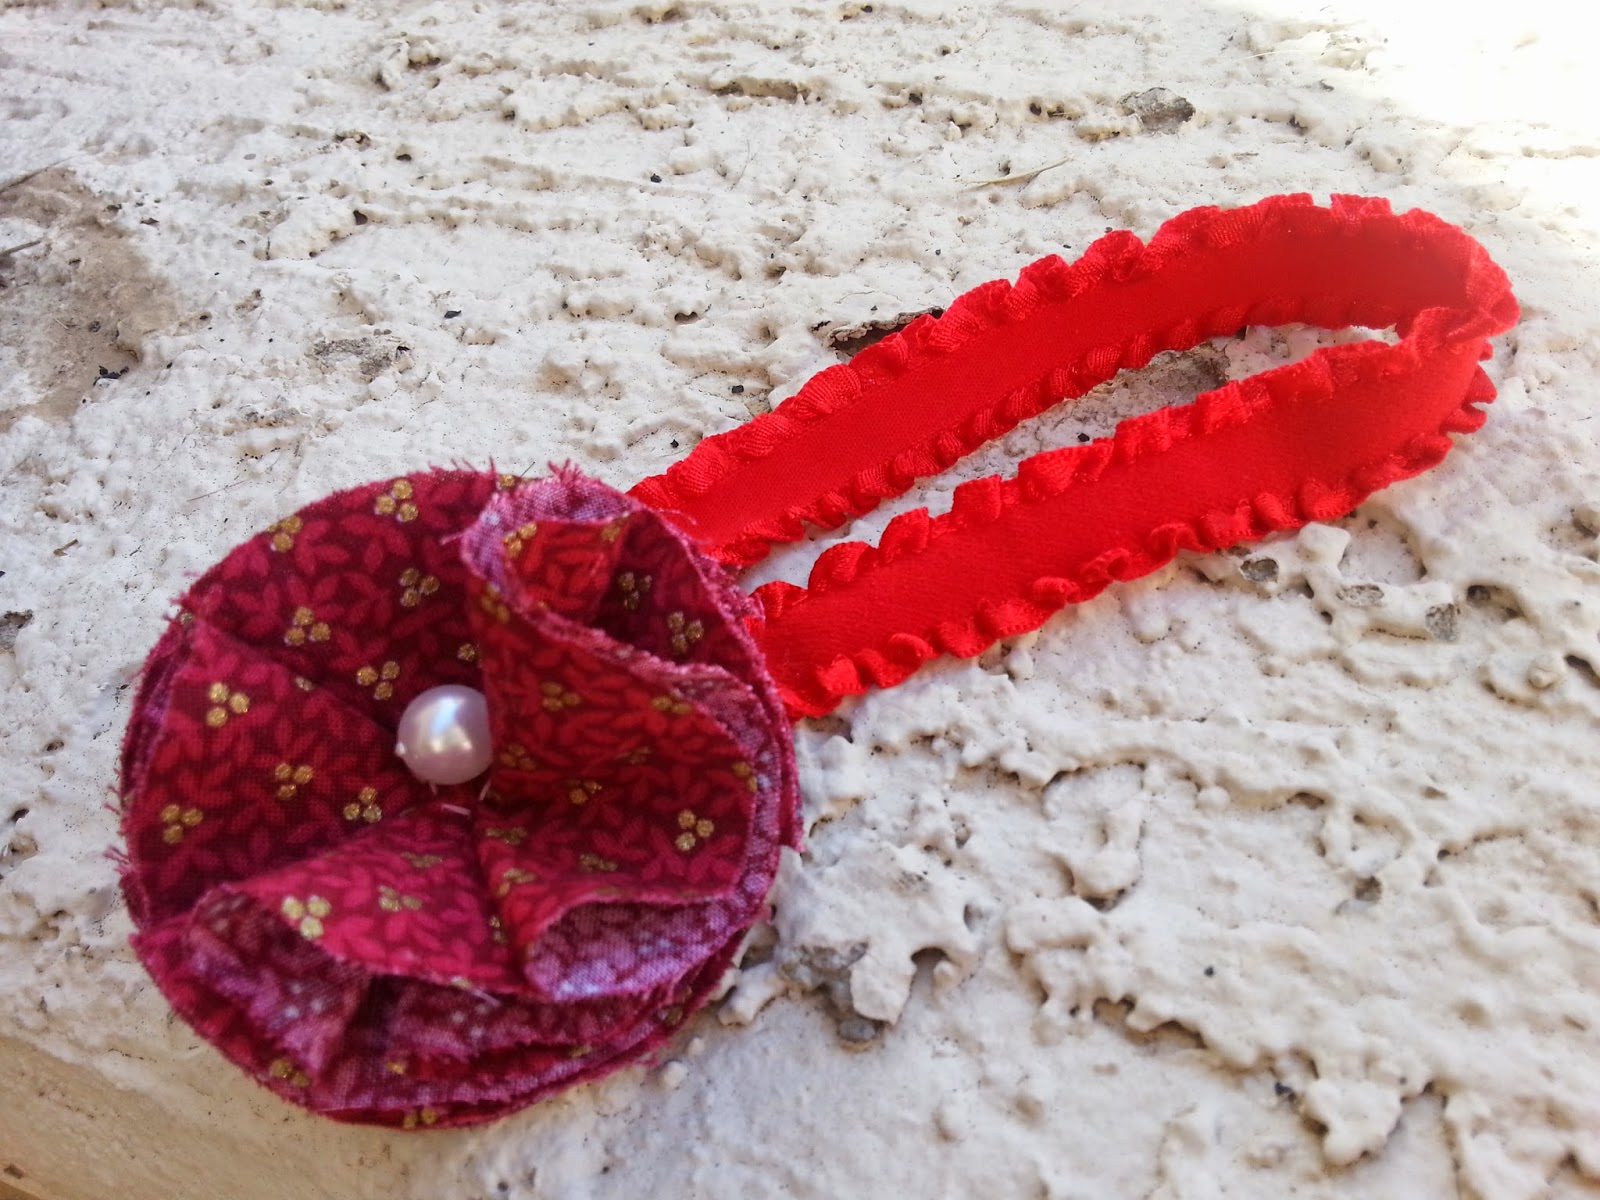
And i also made a matching headband with the remnant fabric.

The short puffy sleeves version. With elastic sleeve cuffs for niece Chloe.

Fabric used: Pink polka dots cotton from Joann
Crochet lace from stash.
I brought 2 yards of this cotton and already made 1 romper, 1 bloomer, 1 headband and this top from it.
Enough of the blabbering, here is the link to the handdrawn pattens: I am not a expert in pattern making, so u r expecting superior quality, pls close the tab and head somewhere else instead.
Note: The size of this pattern is only in newborn to 3months. Great to sew them up as baby gifts.
And here is the mini quick tutorial on the steps:
1) First u got to download the documents from the above link and print them out as 0 scaling. You can use the 4 by 4cm test square to check the scaling. Then cut out 8 bodice pcs and 2 skirt pcs and 2 sleeves pcs. No interfacing is needed in the construction.

2) Sew the crossover bodice pcs at the shoulder seams using 3/8 inch SA. Press. You should have 4 pcs of what is shown in the above pic.

3) With the right sides together, sew the curved neck seams together using 3/8 inch SA. Ending with 2 joined bodice pcs.

4) Trim and clip the curved seam allowances and press.

5) This is what you should have now for the bodice.

6) Add bias tape for emebllishments, or laces as shown in the casual version or you can leave it as it is.

7) Overlap the bodice pcs, left over right (chinese style) or right over left, whichever you are happy with. Matching the mid bodice notches and raw edges. Pin.

8) Stitch at 3/8"inch SA. Repeat for the back bodice as well. Both back and front are actually the same.

9) Next, gather the skirt pcs by stitching 2 rows of basting stitches .

Pardon my not very good pics but i tried my best.

10) Pin the skirt pc to the bodice, matching the edges and the mid notch then pull the basting stitches to fit. Pin the gathers and stitch at 3/8"SA.


12) Reapeat for the back skirt portion and the end results. Remember to press the seams up towards the bodice after you are done.

I used a serger for the seams.

13) Next up the sleeves, you need to gather the sleeves in between the side notches for both versions. Then pin the sleeves to the armholes with right sides together matching the shoulder seam to the mid notch and side seams. Adjust the gathers for the puff sleeves version more towards the shoulder seams area. Stitch at 3/8inch. Finish the seams and press it out towards the sleeves.
14) Pin the side seams of the top and the sleeves and stitch all the way at 3/8 inch SA. PS: Stitch from the skirt hem upwards to the sleeves hem so the mid bodice seams are sutomatically turned towards the bodice. Finish the seams and press them open.

Sorry for the lack of pictures from now on cos it got too dark and i just could get clear pics of the remaning steps.
15) For the long sleeve version: Press up the sleeves hem 1/4inch and then 3/8 inch to get a narrow hem. Stitch close to the inner edge of the fold. And for the skirt hem, you can do the same or use a bias tape for extra embellishment.
For the puff sleeves version: Press up the sleeves hem by 1/4 inch and then 3/8inch to get a narrow elastic casing. Edge stitch along the inner fold leaving a opening for elastic insertion. Then cut out a desired length of 1/4inch elastic, (i cant remember the length i used, i just estimated and cut it.) thread the elastic through the narrow casing using a small safety pin and stitch the elastic ends together. Once done, stitch the opening close.
Then hem the skirt portion same as the long sleeved version.
Hope my wordy and pictures insufficient tutorial will help somehow. Any questions, feel free to leave me a comment below or email me at sewashley87@gmail.com. And if you do sew up this little pc, I would be very happy to c your version pics!!!
Thank you for staying with me and may you all have a super fun long wkend ahead.
XOXO Ashley