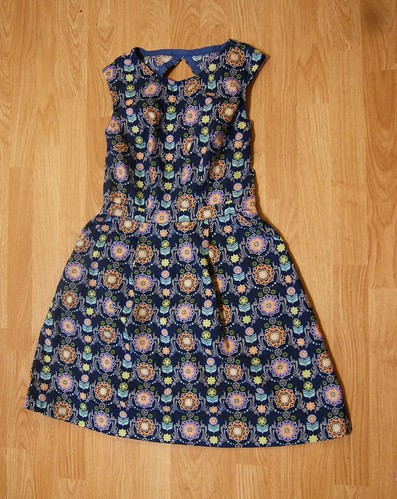
I am having so much fun sewing along with PROJECT SEWN:) And this is my last entry for their week 4 challenge: Signature style. Hmm... I am not really sure of what exactly is my signature style at first, so I went to look through all my previous sewing works. It seems that I love navy and red colors a lot. Further more, I am in desperate need of a fall jacket as we will be going for a road trip to San Francisco next week. And! my winning prizes from Sewaholic patterns had arrived in my mailbox. So everything mixes together and churned out an ever so cute Minoru Jacket:)
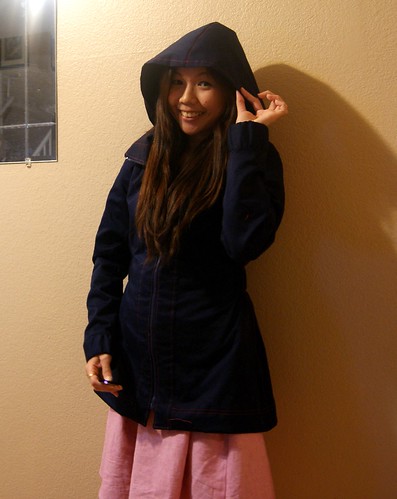
Pattern used: Sewaholic Minoru Jacket
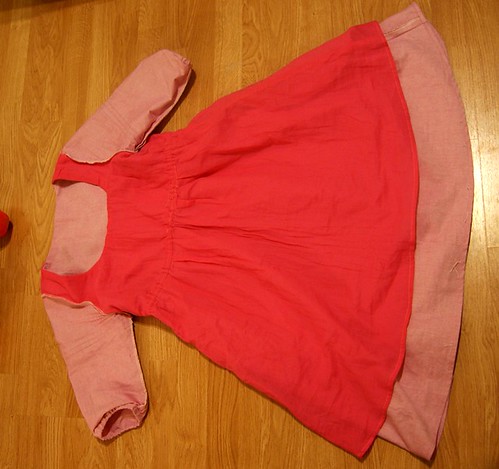
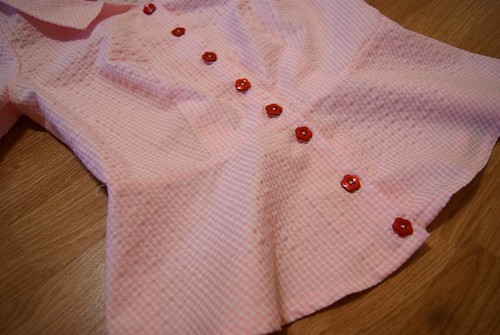
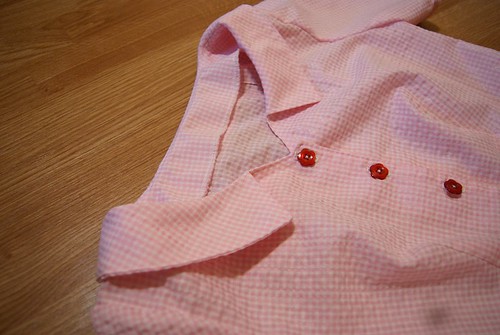
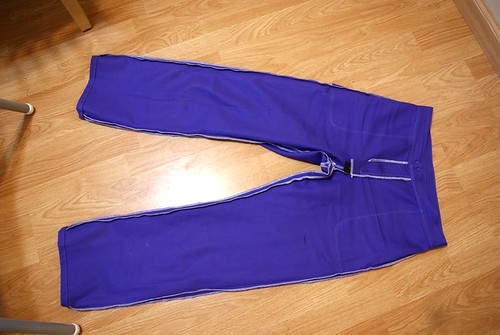
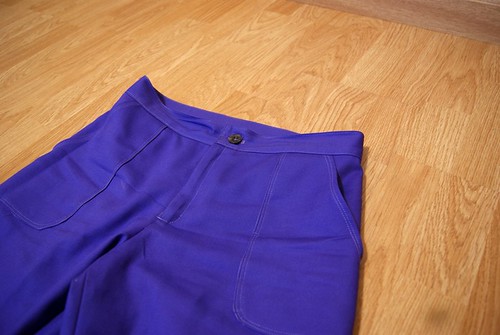
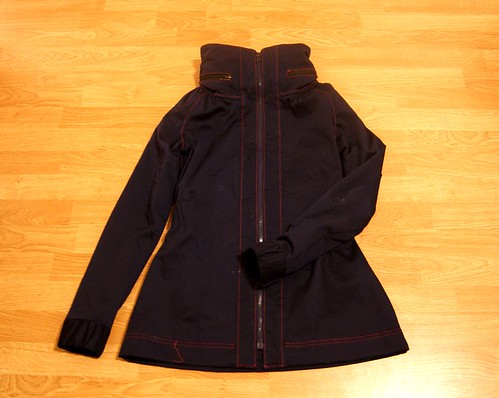
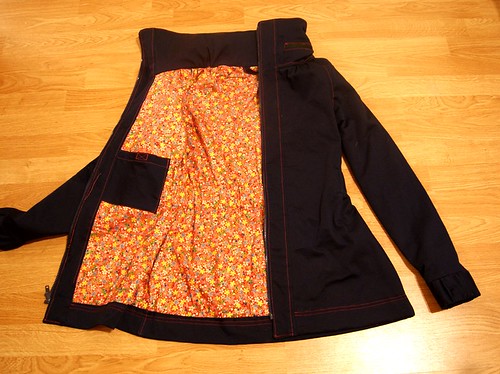
Materials used: Cotton twill in navy color from Joann. Red Japanese flora cotton from stash. Zippers and Velcro and elastic.
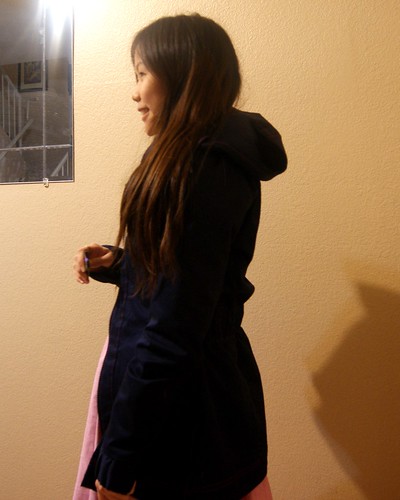
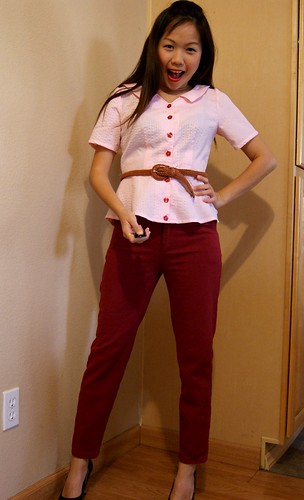
This is my first time sewing up a jacket for myself, and I am really glad that I choose this pattern. It's easy enough for me and also taught me many new techniques along the way. I cut a size 2 throughout and did my usual reduction of the bodice length by 2cm. It turns out to be quite long for me still, but that wont be too big of a issue.
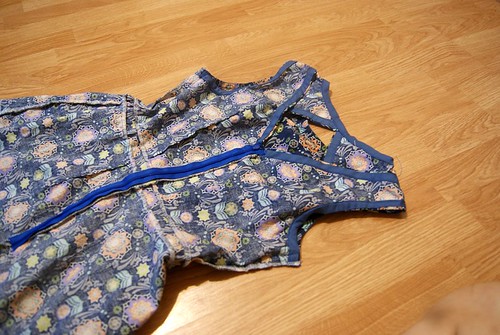
The jacket took me 2 nights to whip out and 1/3 of the time I am stuck at the stitch in the ditch part. (yay again! I hated it man...) I tried my best to align the seams as much as possible, but somehow, the stitching will not hit the correct spot on the under layer so I just keep unpicking the stitches and repin and re stitch. The tedious struggle ended up with a more decent stitching in the ditch but still not perfect.
After living here in AZ for 6 months, I really love how easily available quality fabrics are and their humongous range and cheaper prices than in SG. BUT! the notions here are so expensive! 1x 500yards thread can cost more than $4 while in sg, u can get it at less than $2 each. And the zippers.... I dunno what to say. My jaws almost unhooked itself when I first saw their prices here. But I must admit that for their prices, their quality is much higher than the usual made in china notions found in SG.
This jacket is not super thick and cosy, hopefully it will be sufficient to keep me warm during the road trip. (Sorry I am not really sure of what to expect yet as it's my first fall experience and I can't wait for it!)
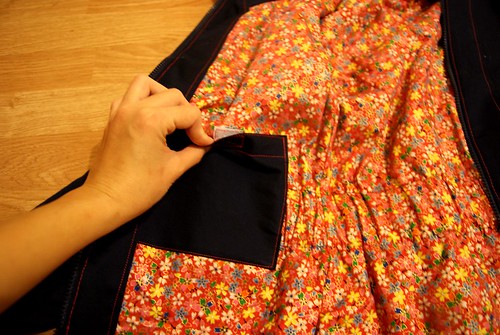
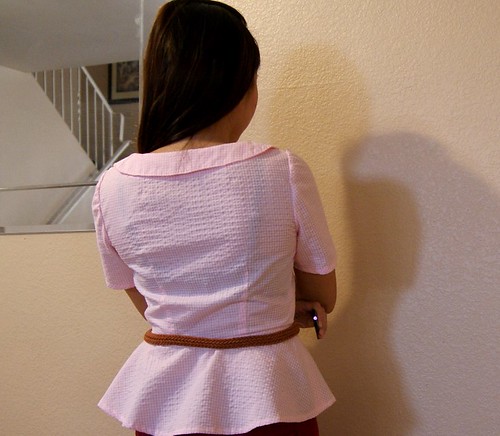
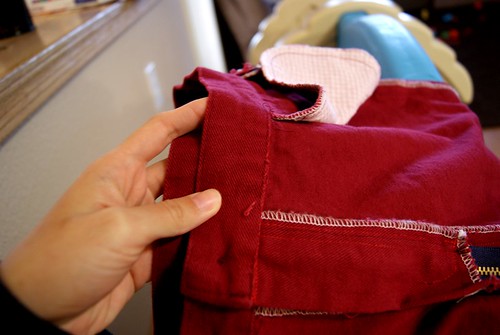
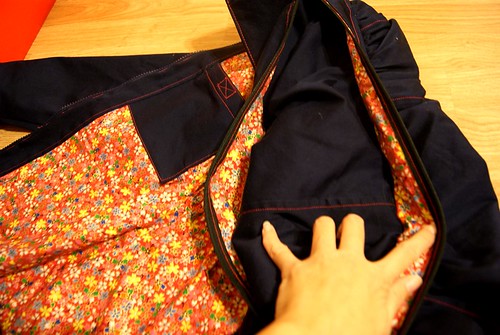
Little bitsy Velcro closure. Navy with red, I am loving it. How about you? And to all my dear readers, thank you all for visiting and even leaving lovely comments on my works. They are super encouraging to me. My English isn't really good, so I am not exactly good with words. Hope that my sucky English wont turn you all off :P
Thanks for stopping by:
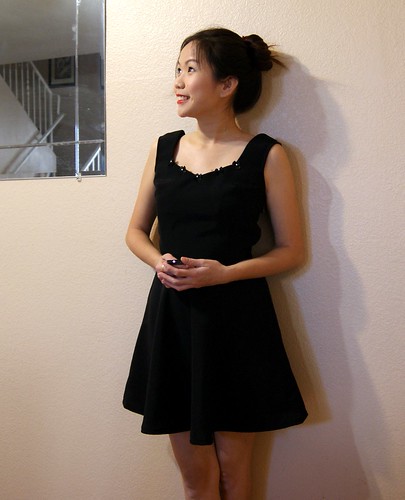
XOXO Ashley